Tips For Hiking With Type 1 Diabetes – From A Type 1
Diabetes Management Changes A Lot With Hiking, Especially Long Distances—But Don’t Let That Stop You!
Hiking with diabetes can seem like an uphill battle (get it?)—but it doesn’t have to be. With good prep, packing, and emergency plans in place, living with diabetes doesn’t have to stop you from going hard in the great outdoors! This article will provide tons of tips that I use every time I hike on how to successfully manage diabetes while hiking and backpacking.
When you’re hiking with type 1 diabetes, there are lots of tweaks to add to your already full diabetes brain! From meal and snack planning to staying hydrated and monitoring your blood glucose levels, to communication with your hiking cohorts, there’s a lot here! I hope you enjoy and learn something from this article…then get hiking!
Join the email list to stay in the loop on new releases!
This site participates in the Amazon Services LLC Associates Program and other affiliate programs and may earn from qualifying purchases. You’re never charged more, but it helps out little by little! Check out “Privacy” in the top menu if you need to know more!
Goal: Figure Out How Many Carbs-Per-Hour You Need For Different Types Of Hikes
The best thing I can tell you, as far as a general tip for hiking with type 1, is to pay attention—over multiple hikes of similar terrain or exertion level—to generally how many carbs per hour you need to stay in a safe range. For me, I burn easily 30-60 carbs per hour depending on the hike, the temperatures, and how much weight is on my back.
READ NEXT: More Articles About Type 1 Diabetes & My Experiences
I just got diagnosed with Diabetes and I’m FREAKING OUT!
Diabetes Symptoms For Noobs – My Type 1 Diabetes Symptoms & Diagnosis Story
Travel Medical Insurance, Pre-Existing Conditions, & Type 1 Diabetes
This knowledge will guide how much you need to pack for hikes, how much you eat pre-hike, and what your recovery might look like post-hike and on the drive home. Make sure you pack food for that since the high cardio will likely keep your insulin processing working in overdrive for a few hours after your hike!
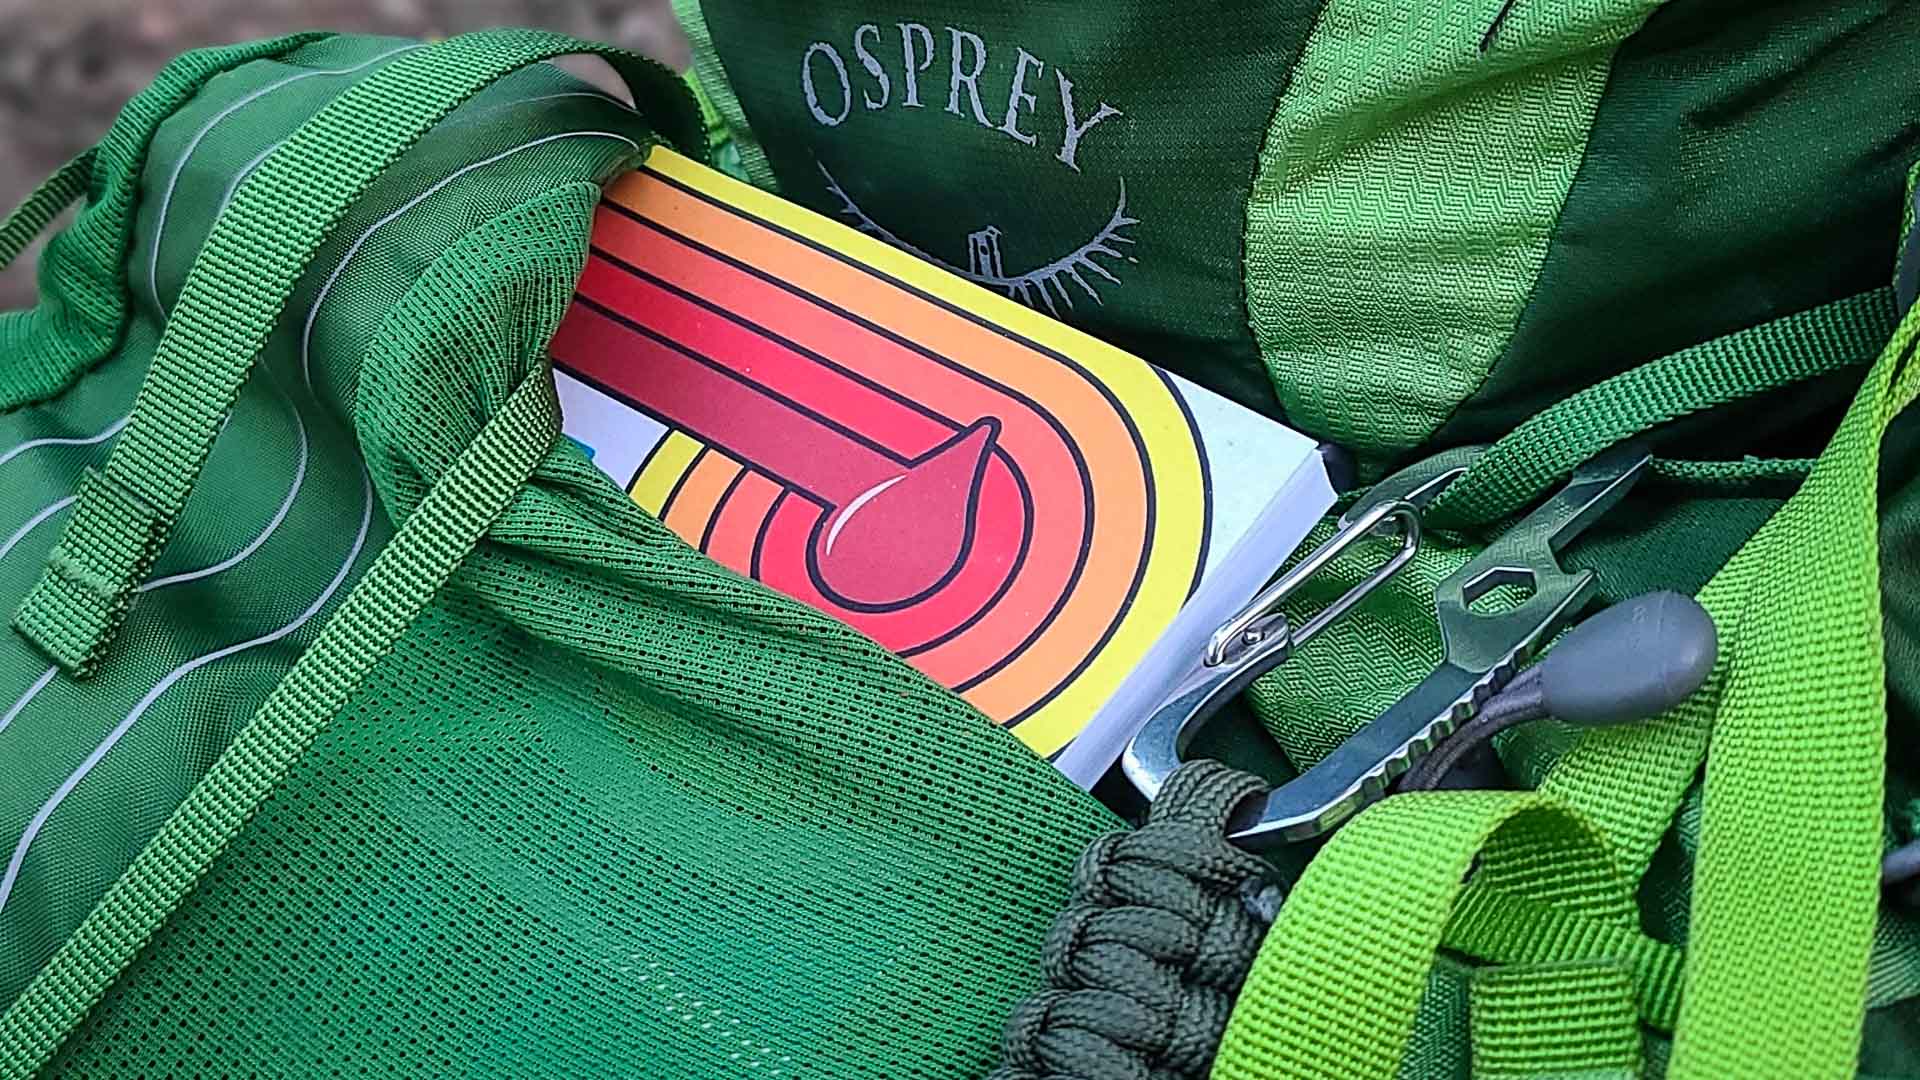
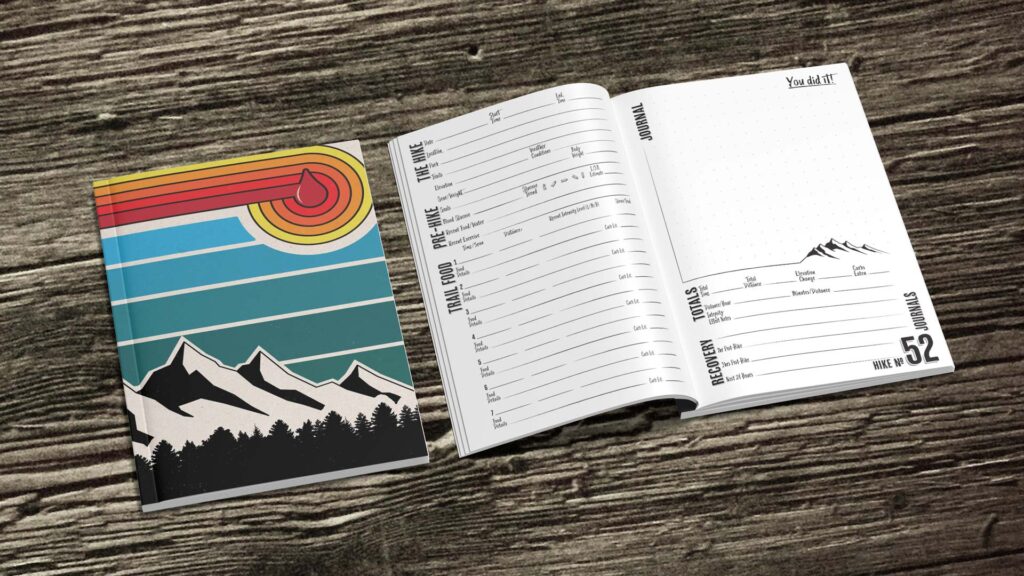
Of course, that’s why I created this hiking journal and logbook, so that you can track many hikes and make better, more informed decisions in the future.
Having type 1 means the rest of your life will be a learning experience, so the sooner you do the work to detail how hiking changes your management, the more safe and comfortable you’ll be.
And you’ll be more confident to try longer and more challenging hikes and adventures!
Connect & Share This Article
Hiking With Diabetes: Diabetes-Specific Gear To Pack
Packing your gear when hiking with diabetes requires quite a bit extra if you truly want to be prepared for anything. The longer the hike, the more you’ll need to add compared to someone that doesn’t live with diabetes. Start with this list, then add what your personal diabetes management requires.
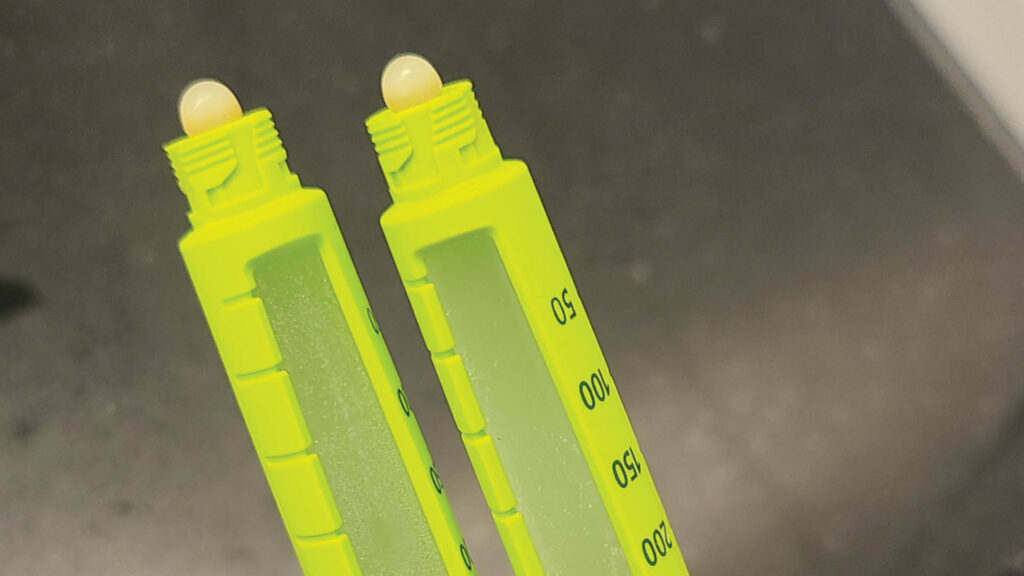
- Additional supplies or ways to administer insulin—in case your main method or pump fails
- More than usual manual blood glucose testing supplies—even if you wear a CGM, and a pocket sharps container or other safe way to dispose of and carry used sharps
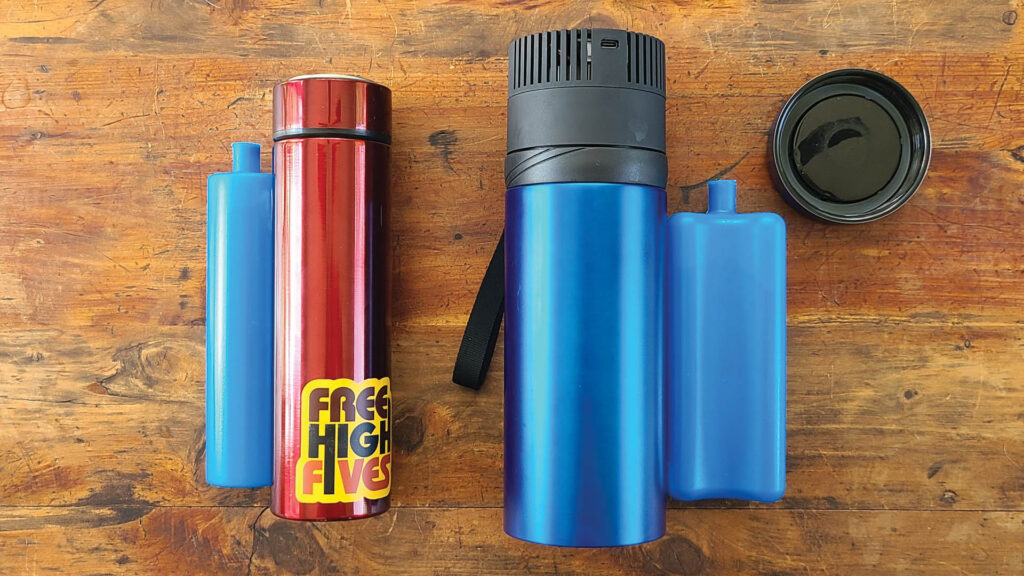
- Insulin coolers or storage—to keep your insulin cool and test strips in safe temperature ranges (there are a couple I use for different circumstances in this article)
- Snacks and meals—medium & high glycemic index foods and snacks that can quickly correct an impending hypo or help you stay level for the entire hike…and afterward
- Glucagon and/or other emergency medications—and make sure someone knows where they are, how…and why…to use them
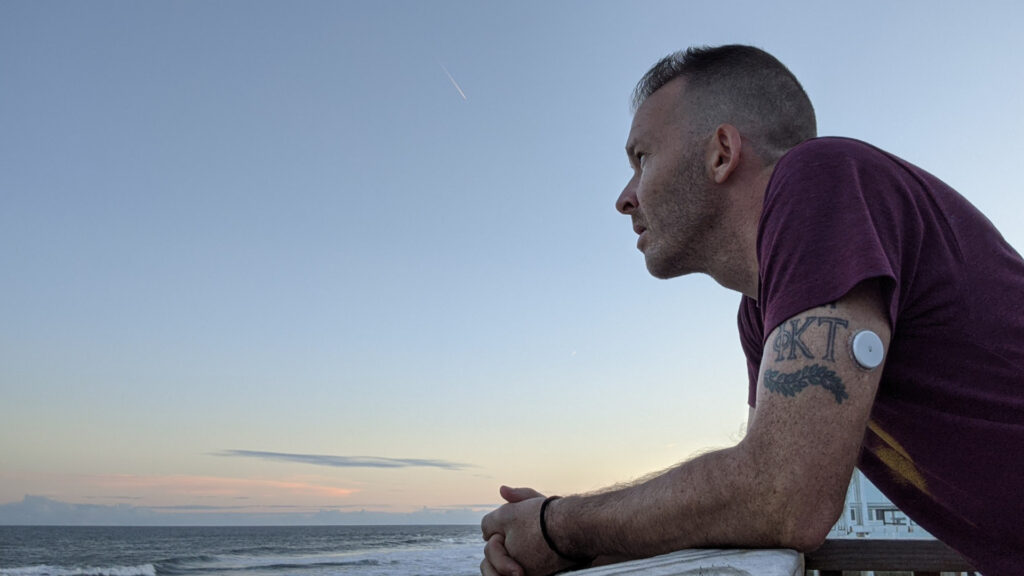
- Tape or patches—If you’re wearing a CGM (continuous glucose monitor), sweat can cause the adhesive to fail, so always patch up or tape up before your hike, or at least be ready on-trail (this brand makes patches for many different skin tones!)
Hiking With Diabetes: General Hiking Gear List
There could be more to include, but this list is a good place to start for day hikes. Most of these things should already be in your pack if you hike a lot, but always do a quick double-check before you head out.
Personally, I always pack a lot of extras in case of any emergency. I assume I could roll an ankle and be in the woods overnight, or encounter someone else that needs help.
I get asked a lot when day hiking if I’m backpacking/overnighting because my pack is pretty big, haha. For me, it’s safety—plus a little more weight for a bit more exercise! Keep in mind that packing a little more weight for a short hike is often less frustrating than realizing you left something you need out of your pack!
- Water & electrolytes—at least double what you think you’ll use—and make sure those you’re hiking with have enough so they’re not depending on your reserves!
- First aid kit—chewable aspirin, bandages, tweezers, alcohol wipes, Moleskin, etc.
- Sun care—hat, sunscreen, sunglasses, etc.
- Extra batteries or power bank—and extra charging cords
- Hiking whistle—and make sure you & your friends know how to use it!
- Headlamp—or form of emergency light…other than your phone…with extra batteries (this company is my go-to; all-metal headlamp housings don’t melt!)
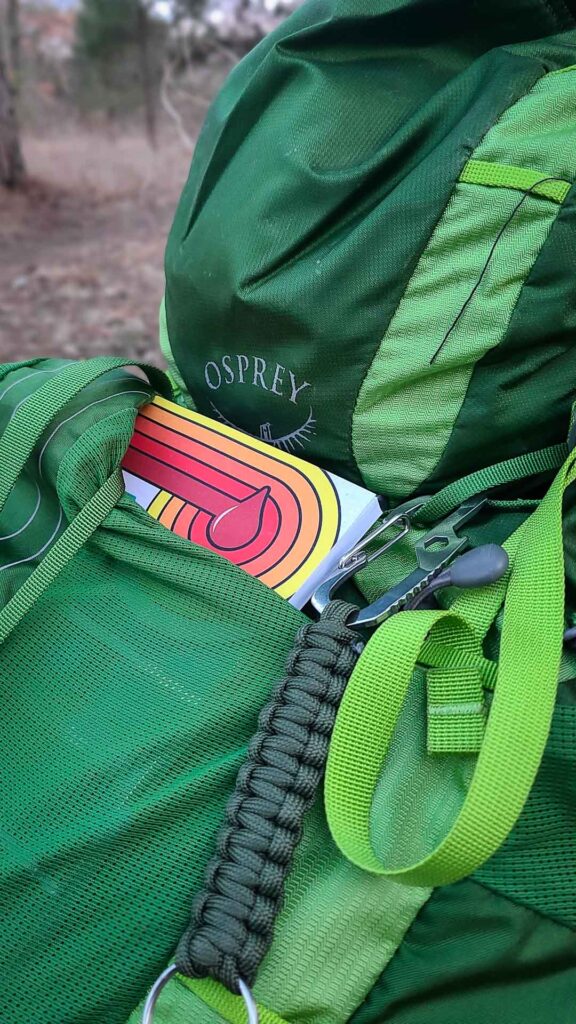
- Multi-tool—or pocket knife or another trail tool
- Compass—and know how to use it
- Bio-break supplies—bears poop in the woods, and so will you; poop responsibly!
- Bug…and bear spray—check state or national park laws first
- OPTIONAL: GPS tracker—especially if venturing out solo
- OPTIONAL: Overnight gear & supplies—sleeping bag, pad, extra clothing, meals, ultralight camp stove, water filter method or self-filtering bottle, shelter, etc.
Hiking With Diabetes: Tips For Before You Hike
Check Your Blood Glucose Level At Least 1-2 Hours Pre-Hike And Try To Get Sorted
Personally, I like to run a little high as I’m starting my hike, but knowing how to nail that target means I need to be managing my type 1 diabetes well in the hours prior.
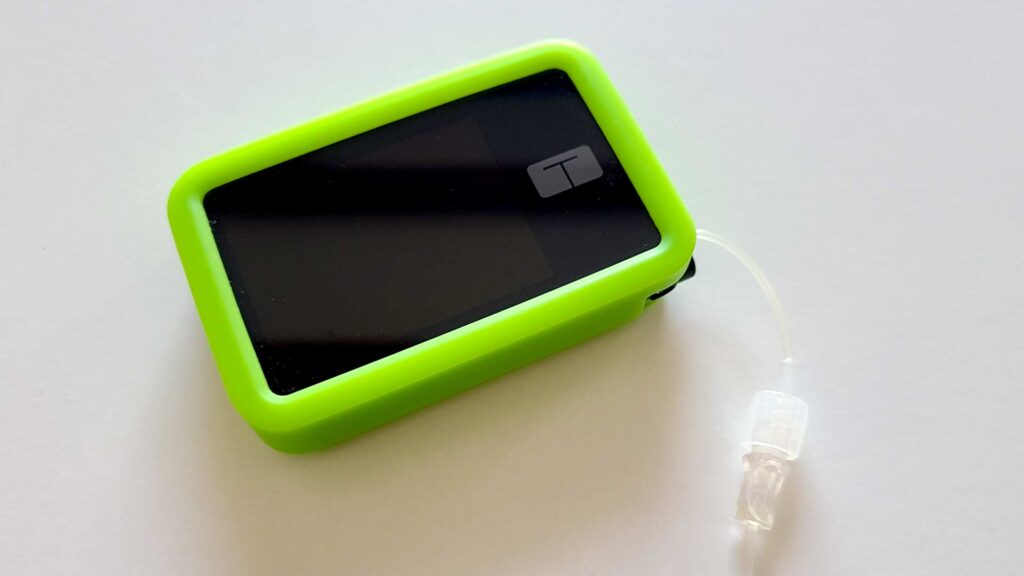
If Using A Pump, Consider Putting It On A Temporary/Sport Mode
Maintaining a slightly higher than average blood sugar level as you start your hike may help you “see” the drop from high cardio with enough time to avoid a low in the early parts of your hike. And make sure you have a case or silicone cover on your pump to protect it from drops and accidents on the trail!
If you’re testing your blood glucose manually, plan for extra testing while on trail, maybe once per hour or more if you’re struggling, to make sure you catch potential extreme drops and lows.
Low blood sugar can happen very quickly when hiking with type 1, especially if going from easy to harder and more difficult terrain with higher exertion levels!
READ NEXT: How To Use An Emergency Hiking Whistle…And Why You Should Have One
Hydrate Extra And Eat High Energy Foods In The Hours Before Hiking
Proper hydration pre-hike is important in general, but especially when attempting to keep blood glucose spikes in check. In the hours and day prior to your hikes, try extra hard to maintain healthy hydration levels.
Think of it this way, the more hydrated you are, the more water is in your body to dilute onboard glucose, thus maintaining a more consistent playbook on what your numbers might look like.
If you’re dehydrated, that’s less water-to-glucose ratio in your body, making your numbers all screwy. It’s often much more difficult to know how you’ll respond to management methods that would work if you were properly hydrated!
Let Someone Not On The Hike Know Your Plans
Even if your hiking plans might be flexible, let at least one person know—someone who’s not your hiking partner—your intentions and time frames with an idea of your emergency plans.
Also, let them know the amount of diabetes supplies and gear you’re packing and how long they should last if you end up out longer than planned.
Make Sure Someone In Your Group Knows What To Do In Case Of Emergency
Those hiking with you should know how your diabetes may affect your hike, that you may need extra stops to manage…or to write in this logbook…along the way, and what to do in case of an emergency.
Check The 24-Hour Weather For Your Hiking Destination
Weather can change drastically, especially with elevation, and can be very different if you’re hiking at uncharted to you destinations. It’s always good practice to pack some thin, light underlayers, rain gear, extra socks, etc.
Consider High/Low Temperatures & The Effect They May Have On Your Stash
If there’s danger of freezing temperatures, pack insulin close to your warm body instead of near the exterior of your backpack. On hot days, consider insulin-cooling products or coolers. And don’t forget that blood glucose meters and test strips can also be affected by extreme temperatures!
READ NEXT:
Essential Travel Items & Unexpected Gifts For Traveling Diabetics
Travel Medical Insurance, Pre-Existing Conditions, & Type 1 Diabetes
Hiking With Diabetes: Tips For While You’re Hiking
Check Your Blood Sugar Regularly—Likely More Often Than Usual
I use a Tandem X2 insulin pump, so I tend to check where my blood sugar level is tracking every 20 minutes or so while on a hike. A quick glance is usually all I need, so I still try to “disconnect” in between glances to enjoy nature.
If you’re managing your diabetes manually with finger pricks, you may need to check significantly more often, probably at least once an hour, until you get things dialed in.
Once you’ve done the work to have a really good understanding of what your numbers do while hiking, you might be able to check less often and enjoy the “break” from your diabetes for longer!
Eat Snacks That Break Down Into Small Servings That Work With Your Calculations
For me, my insulin-to-carb ratio is 1:15, so I always found my math (before being on a pump) much easier if I snacked with that ratio in mind. Snacks that are easy to break down into individual unit-to-carb values may make tracking in your brain (or in your journal pages) even easier. For instance, a pack of chews that is 15g total but has 5 pieces means each piece is 3g.
Hiking With Diabetes: Tips For After The Hike
Watch For Lows Post-Hike, And Monitor Until You Return To “Normal”
Your body is likely to continue to process insulin much more efficiently for hours following the hike, and likely for a day or two if you’re not used to regular cardio. So you may use/need less insulin or to adjust your basal insulin regimen.
Especially in the following hours, test your glucose regularly to see how your blood sugar level looks, how it’s tracking, and whether you need to adjust.
Now Get Hiking!
It is possible to hike with diabetes and tackle anything the trail throws at you. Planning ahead, knowing your body’s limits, and following the tips in this article will help ensure that you can get out and enjoy nature while managing your condition.
Remember to always carry emergency supplies both for your diabetes management and just any general trail emergencies that could come up. Living with type 1 shouldn’t stop you from enjoying everything a good trail can throw at you!
Don’t forget to hit me up on Instagram and join the conversation! And sharing this article with someone would really help me out!
Connect & Share This Article
Cheers!
—Jason


About Jason Robinson
Jason is the author of “The Beginner Traveler’s Guide To Going Nomad,” as well as the voice behind the words and the eye behind the lens for The Nomad Experiment. “Planning to travel at some point” wasn’t actually getting the job done, so nearing 40 he decided to make it a priority, nomatter how scary that was. A few years later—through the pandemic and a type 1 diabetes diagnosis at age 42—now living a life of nomadic travel, he’s speaking out to encourage others of any age, or with any serious medical diagnosis, to live an unconventional life.
Frequently Asked Questions About Diabetes
What are safe temperature ranges for storing insulin? (Read more here)
Insulin should be stored within a safe temperature range to maintain its effectiveness. The safe temperature range for storing insulin is generally between 36°F and 46°F (2°C to 8°C). If insulin is stored at temperatures below 36°F (2°C), it may freeze and become ineffective. On the other hand, if insulin is stored at temperatures above 46°F (8°C), it may degrade and lose its potency over time.
It is important to note that temperature fluctuations can also affect the potency of insulin. Therefore, it is recommended to store insulin in a cool, dry place, away from direct sunlight and extreme temperatures. Check out some of these products for keeping insulin at proper temperatures.
What are the symptoms of extreme hypoglycemia?
Extreme hypoglycemia is a severe condition that occurs when blood glucose levels drop to a dangerously low level. Symptoms of extreme hypoglycemia may include:
- Seizures or convulsions
- Unconsciousness or coma
- Confusion or disorientation
- Difficulty speaking or slurred speech
- Blurred vision or double vision
- Numbness or tingling in the lips, tongue, or cheeks
- Severe headache or dizziness
- Sweating, chills, or clammy skin
- Rapid heartbeat or palpitations
- Extreme hunger or nausea
What are the symptoms of hyperglycemia?
Hyperglycemia, also known as high blood glucose, occurs when the body has too much sugar in the blood. Short-term symptoms of hyperglycemia may include:
- Frequent urination
- Increased thirst
- Dry mouth
- Fatigue or weakness
- Blurred vision
- Headache
- Nausea or vomiting
- Abdominal pain
- Rapid heartbeat
- Shortness of breath
- Fruity breath odor (if ketoacidosis is present)