Tips On How To Use An Emergency Hiking Whistle…And Why You Should Have One
The plan was never to have to use my emergency hiking whistle
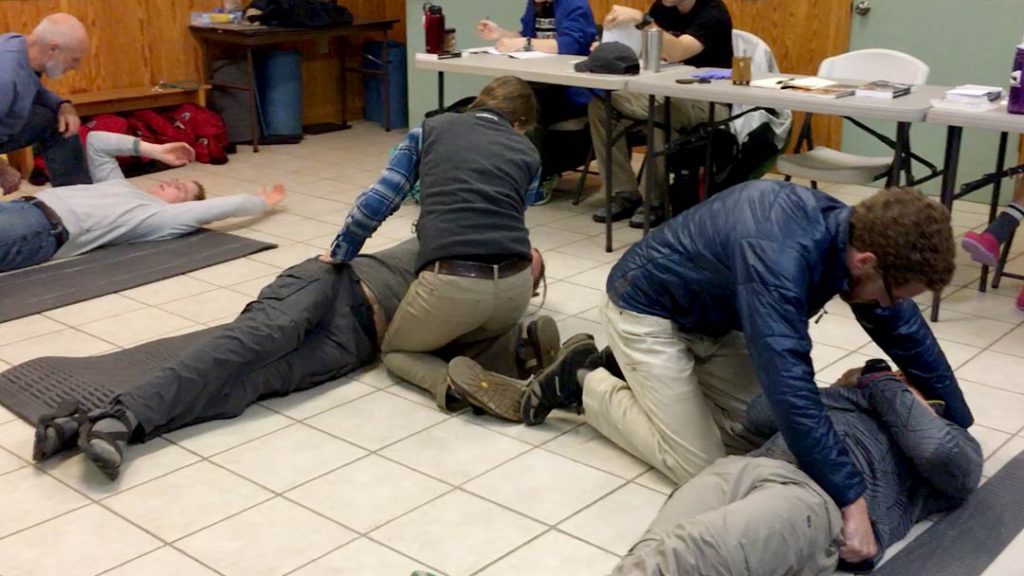
I have to admit, when I got certified as a Wilderness First Responder I had no intention of putting much of what I learned into use. I thought it would be a “nice to have…just in case” and a good line on the resume for seasonal jobs and such. Also, growing up with “The More You Know” commercials on the TV every hour programmed me to always search for more knowledge and to be better prepared. Fast forward to the second time I had to put my skills into use—which included heavy use of my emergency hiking whistle—and I was really thankful for my preparedness.
Even if you just came for the tips on how to use (or buy) an emergency whistle, please read this little throwback to understand why it’s such an important thing for you to have when recreating in the backcountry…and how quickly things can hit the fan even when you’re in places you know and frequent.
And to respect my friend’s privacy, I’ll be somewhat vague and not use names and details about the ordeal or recovery.
Join the email list to stay in the loop on new releases!
This site participates in the Amazon Services LLC Associates Program and other affiliate programs and may earn from qualifying purchases. You’re never charged more, but it helps out little by little! Check out “Privacy” in the top menu if you need to know more!
Connect & Share This Article
It’s already past dark, shouldn’t he be back from his ride by now?
It was about 30 minutes after dark; well past when my friend should have been home had he left the mountain bike trails while it was still light. I knew he didn’t have his heavy-duty night-riding lights and gear, so I shot a text to his wife who was out of town. He’s been warned that he’d be in trouble if he doesn’t share a Strava beacon with her every time he heads out.
“Can you check his beacon? He went riding and I don’t think he took his lights. He should be home by now and he’s not replying to my texts.”
“He’s on Torn Shirt Trail and has only moved a few feet in the past half hour…”
When she asked if I could go find him I had already grabbed my backpack—which always has a headlamp, backup batteries, and other emergency gear packed and ready to go—and was getting in my Jeep. Luckily the trailhead was only about a 5-minute drive away and I knew it somewhat well. She sent me GPS markers and I worked my way to him as fast as I could.
SHOP FOR: Metal Emergency Whistle
2-Pack Plastic Emergency Whistles
It’s the little things that count, and in this case…my emergency whistle was the little thing
First I found his bike a few feet off the trail, then I saw him about 20 feet further down the hill…in a patch of poison ivy no less. Loss of most of the movement below his neck meant he couldn’t reach or take off his backpack to get his phone. He was alert and oriented, but beyond that, he was pretty screwed.
I was staying in contact with his wife, who had already called 911 to get emergency services en route. But until they got there, it was a matter of keeping calm and checking vitals and for other injuries so that I could report when they arrived.
Unfortunately the emergency response teams, from multiple stations in the immediate area, had zero understanding of the trails or how to get to injured riders.
I had to bounce back and forth from talking to 911 on the phone and giving directions as best I could to using my emergency whistle so they could get to us…for about 20 minutes after they were on the trails trying to find us…until they finally got to us.
READ NEXT: Yesterday I had to Use My NOLS Wilderness First Responder Training…
“Everybody Poops…Sometimes In The Woods” & 10 Other Things You Might Hear At Wilderness First Responder Training
All in all, they weren’t able to get him out for about 2 hours from the time I arrived, and the execution was beyond dicey. I had four emergency responders standing near me afterward telling me how important it was that I was able to find him and that I had my whistle to signal for help to be able to find us.
Did I mention that none of the emergency responders had an emergency whistle or any other way of “being loud” other than yelling?
The results: Lots of rehab, better preparation for the future, and some letters to the municipalities on how to improve
Afterward, my friend had to spend a week in the hospital to get back basic movements of his extremities to the point where he could head home to start recovering. Over a year later and he’s still in regular physical and motor therapy to try to improve a percentage of his old abilities that are still absent, but he’s at least able to send it on the trails again.
A well-formatted and explanatory letter was sent (thanks to a family member of my friend) documenting many of the things that went wrong with the rescue and how they could potentially improve preparedness and responses in the future…for the benefit of the many people that ride those trails.
And I’ve gotten much more respect for that tiny little whistle that’s always dangling from the front of my lime-green osprey backpack.
READ NEXT: More Articles About Type 1 Diabetes & My Experiences
I just got diagnosed with Diabetes and I’m FREAKING OUT!
Diabetes Symptoms For Noobs – My Type 1 Diabetes Symptoms & Diagnosis Story
Travel Medical Insurance, Pre-Existing Conditions, & Type 1 Diabetes

What to look for when buying an emergency hiking whistle
While a hiking whistle might seem like a fairly simple tool to shop for, there are a few features to be aware of. At the end of the day, you need a loud whistle that will be durable given the way you hike. Here are a few features to weigh the importance of when buying an emergency signal:
Basic plastic whistles
Plastic hiking whistles are compact and easy to carry, and they emit a loud, high-pitched sound that can be heard over long distances. A lot of times a plastic rescue whistle will come free on an expensive backpack, but I suggest upgrading to a metal whistle or carrying a metal whistle as your primary and a plastic whistle as a backup or for a friend.
Metal whistles
Metal whistles are more durable than plastic whistles and may have a slightly different sound. They are often used by professional hikers and outdoor enthusiasts who require a more heavy-duty option. Yes, they’re more expensive, but they also do the job better and won’t get crushed like a cheap kids toy when throwing your backpack around.
SHOP FOR: Metal Emergency Whistle
2-Pack Plastic Emergency Whistles
Decibel level – What’s the frequency Kenneth?
The decibel level of an emergency whistle can vary depending on the specific design and construction of the whistle, for instance, whether it’s metal or plastic, pealess, or with a pea (see below).
For the most part, the highest decibel level for an emergency whistle is typically around 120 decibels (dB), which can be heard from a distance of up to two miles away in open terrain.
The distance at which an emergency whistle can be heard can depend on many different factors, including the design and construction of the whistle (for instance whether it’s metal or plastic, pealess or with a pea—see below), the ambient noise level, and the environment in which it is being used. As a general rule, a quality emergency whistle with a loudness level of around 120 decibels (dB) should be audible up to 2 miles away in open terrain, assuming no significant background noise.
Here are some general distance ranges for emergency whistles at different decibel levels, based on a typical open terrain scenario with little background noise. As you can see, there’s a big difference in how far you’ll be heard for different levels!
Emergency whistle decibel levels and audible distances
| Whistle Decibel Level (dB) | Approximate Distance Heard |
|---|---|
| 90 dB | Up to 0.25 miles |
| 100 dB | Up to 0.5 miles |
| 110 dB | Up to 1 mile |
| 120 dB | Up to 2 miles |
| 130 dB | Up to 3 miles |
| 140 dB or higher | Up to 4 miles or more |
Whistles with built-in compasses
Some hiking whistles also have built-in compasses, which can help you navigate your way out of trouble spots. These types of whistles are typically more expensive than basic plastic whistles. I think these are two different tools for two different reasons, but you can check out one of these combos here.
Whistles with built-in thermometers
Similar to whistles with built-in compasses, some hiking whistles also have built-in thermometers, which can help hikers monitor the temperature and weather conditions. Again…C’mon man.
Connect & Share This Article
Whistles with lanyards
Most hiking whistles come with lanyards or cords that can be attached to backpacks, jackets, or belts, making them easily accessible in case of an emergency. Honestly, a quality emergency whistle should come with a lanyard.
SHOP FOR: Metal Emergency Whistle
2-Pack Plastic Emergency Whistles
To pea or not to pea? That is the question
When it comes to emergency whistles, there are two main types: pealess whistles and whistles with a pea. Honestly…you should only have a pealess whistle, and here’s why:
Pealess whistles
These whistles do not have a pea inside and instead rely on a specially designed chamber and shape to produce sound. Pealess whistles also work in a wider range of temperatures and conditions.
They are generally more reliable than whistles with a pea because they do not require air to pass through a small opening, which can become clogged with dirt or debris.
Whistles with a pea
These whistles have a small ball, or “pea,” inside that vibrates when air passes through it, producing sound. They are typically louder than pealess whistles and may have a distinct sound that is easier to recognize. However, they can be less reliable than pealess whistles in harsh conditions, as the pea can become stuck or frozen.
How to use an emergency whistle, when hiking or anywhere else in the great outdoors
No matter what you call it—an emergency whistle, a hiking whistle, a safety whistle, a survival whistle—there’s not much to using it. Hell, you could throw these tips out the window and just start belting notes as loud as you can on a whistle and you’re pretty much guaranteed to signal someone to your location—whether to help you or to kick your ass for being annoying!
Three short, consistent blasts is the universal distress signal for a backcountry emergency. That’s it. It’s really that simple.
If you are lost or injured, blow three 2-3 second blasts with a short pause in between. Then wait for a few seconds—to listen for a response—and repeat the signal.
But there are a few more tips I can give you that will up your game in any situation you encounter where an emergency whistle is needed.
Tips for carrying and using your emergency hiking whistle
Here are some tips to help you know how to use an emergency hiking whistle effectively, starting with probably the most important one!
Always make sure to have your emergency whistle with you
Make sure to keep your whistle with you at all times, either on your keychain, in your pocket or attached to your backpack. But optimally it should be on a lanyard, attached to something on your pack, and readily accessible. This way, you can quickly access it in case of an emergency, but it’s also not “loose” so that it can fall out of a pocket or get lost.
Use it in an open area
When blowing your whistle, make sure you are in an open area, where the sound can carry farther. Avoid using it in a valley or a dense forest, where the sound may not travel as far. And if possible, avoid being up against a “wall” that will only allow the sound of your three blast signal to be heard in one direction.
Use it at regular intervals
If you are lost or stranded, blow your whistle at regular intervals, such as every 5-10 minutes, to increase your chances of being heard. You should adjust this tip as needed to your situation, and if the emergency is dire, use your whistle as much as your lungs will allow.
Don’t waste your breath
If you only have a limited amount of air, use it wisely. Take deep breaths and blow hard and long blasts on your whistle, instead of short, weak ones. You need to be blowing loud enough to have the sound extend as far as possible!
Stay visible
In addition to blowing your whistle, make sure to stay visible by wearing bright clothing, waving your arms, or using reflective materials. Consider putting signal “flags” of bright items on high locations if you think search crews will spot them.
Know when to use your hiking whistle
Only use your whistle in case of an emergency. Blowing it unnecessarily can confuse and may desensitize others to the sound. Think “the boy who cried wolf.”
Emergency hiking whistle parting thoughts
By following these tips, you can use your emergency hiking whistle effectively and increase your chances of getting help in case of an emergency. It’s this simple: If you don’t have a survival whistle, buy a reliable, pealess whistle now. Then remember that three short blasts, consistent at about 2-3 seconds each—on your survival whistle and repeated at regular intervals, are your best bet to signaling a rescuer in a backcountry emergency. This little bit of knowledge and preparedness could save your life or the life of a friend.
Don’t forget to hit me up on Instagram and join the conversation! And sharing this article with someone would really help me out!
Connect & Share This Article
Happy hiking!
—Jason


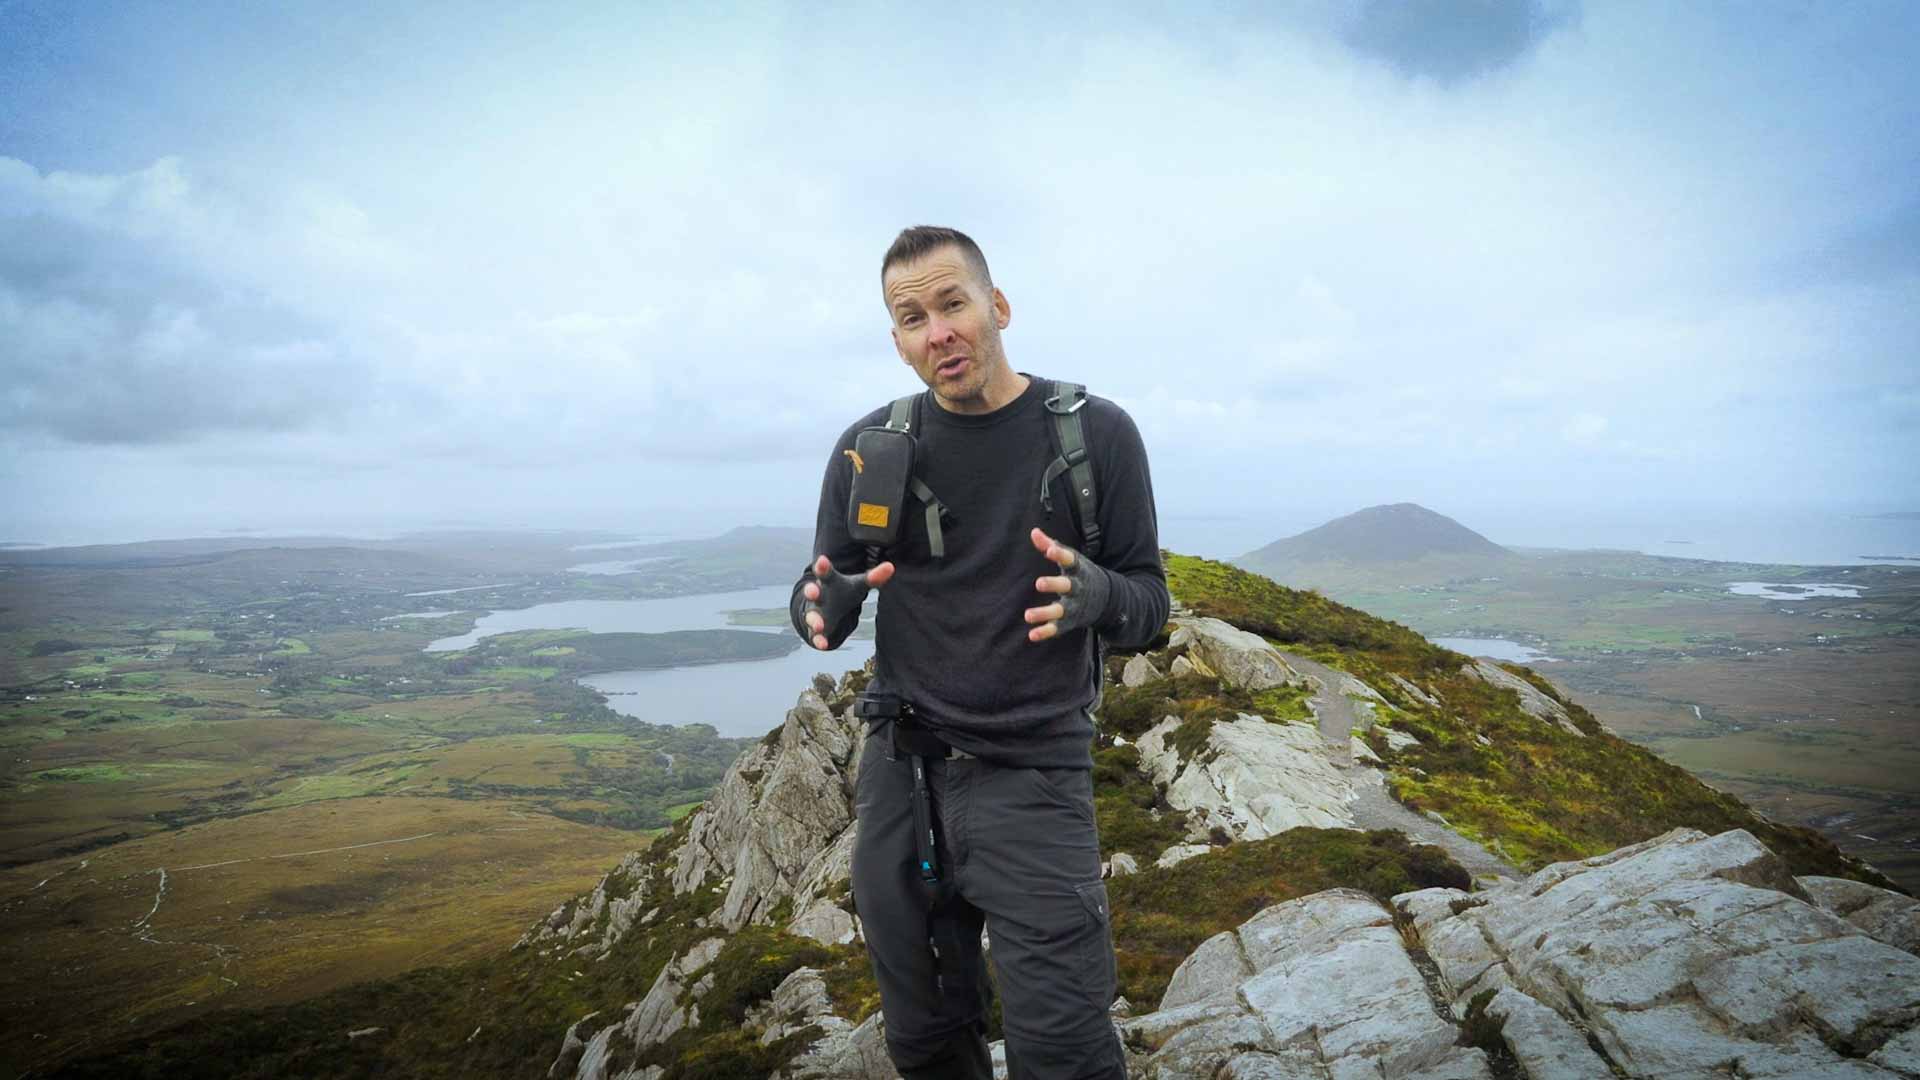
About Jason Robinson
Jason is the author of “The Beginner Traveler’s Guide To Going Nomad,” as well as the voice behind the words and the eye behind the lens for The Nomad Experiment. “Planning to travel at some point” wasn’t actually getting the job done, so nearing 40 he decided to make it a priority, nomatter how scary that was. A few years later—through the pandemic and a type 1 diabetes diagnosis at age 42—now living a life of nomadic travel, he’s speaking out to encourage others of any age, or with any serious medical diagnosis, to live an unconventional life.
Frequently asked questions about using an emergency hiking whistle
Why is it important to pause after blowing your emergency whistle 3 times?
After blowing the whistle, pause and listen for any response. Repeat the signal if necessary, and continue to listen for a response.
Which is better, a metal or plastic emergency whistle?
Both metal and plastic emergency whistles can be effective in signaling for help in an emergency situation. But metal whistles are often considered more durable and can withstand extreme temperatures and weather conditions. Metal emergency whistles also tend to be louder than plastic whistles, which can be an advantage in a noisy or windy environment.
Compared to metal whistles, plastic whistles are generally less expensive, often lighter, and less likely to corrode or rust, making them a good option for use in wet environments. Plastic whistles may not be as loud as metal whistles, but they can still produce a loud and clear sound.
In summary, both metal and plastic emergency whistles can be effective. Choosing between them should depend on personal preference, intended use, and environmental conditions.
If weight isn’t an issue with your pack, I suggest carrying both a plastic and a metal emergency whistle. That gives you options depending on your circumstances, or just a spare whistle to let your irresponsible friend borrow during the trek! (J/K…kind of.)

Just finished reading this concise and practical article on thenomadexperiment.com about how to use a hiking emergency whistle, and it’s a must-read for outdoor enthusiasts like myself! The author’s straightforward tips and clear instructions provide invaluable knowledge on this essential safety tool. Now I feel more confident and prepared for any hiking adventure. Thank you for sharing these whistle wisdoms with us!